Utensia: Day Four

Utensia: Day Four

Inspired by a number of artists, my research and work is bringing the illustration project near to a close.

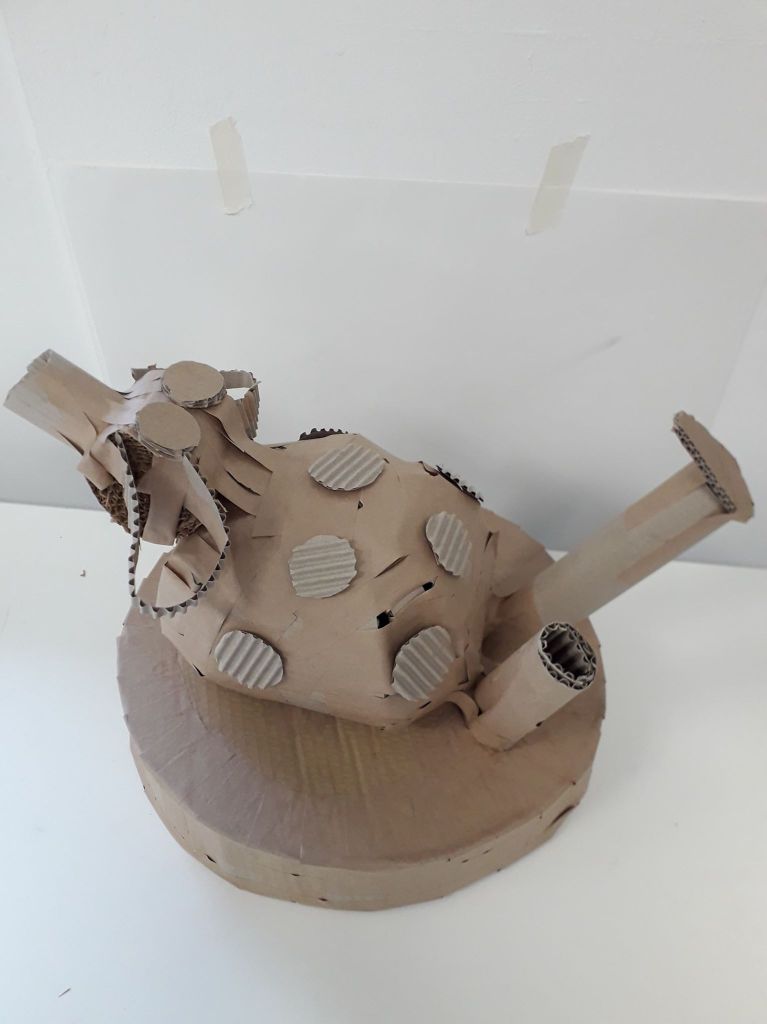
Before the day, my research into papercraft and pop-up work led me to work for a few hours and create a few 3D experimental media iterations.

Above are three iterations of possible interactive oven doors based on various drawings from my initial ideas or media experimentation sheets. Note the zigzag texture was inspired from Samuel Shumway, my researched papercraft illustrator!
After a conversation with Louise, I was determined to create a little notebook that would fit inside the final coloured 3D oven. I have decided it’s a complete little experience for the viewer: getting to take something out of the oven after opening its door, and then getting to open that again and look inside!
The notebook is concertina folded with paper-covered mounting board I took from small offcut board scraps. The inside is mixed media_ brown paper, magazine, masking tape and coloured paper all glued together in ragged strips to create interest. After taking this image, I actually ran it through a sewing machine a few times to add stitch as further interest.
An image of the final 3D oven with its precious little clear window, perfectly sized to house my book.
beep beep beep! Notebook’s ready! Maybe you need tiny finger-sized oven mitts to take it out safely.

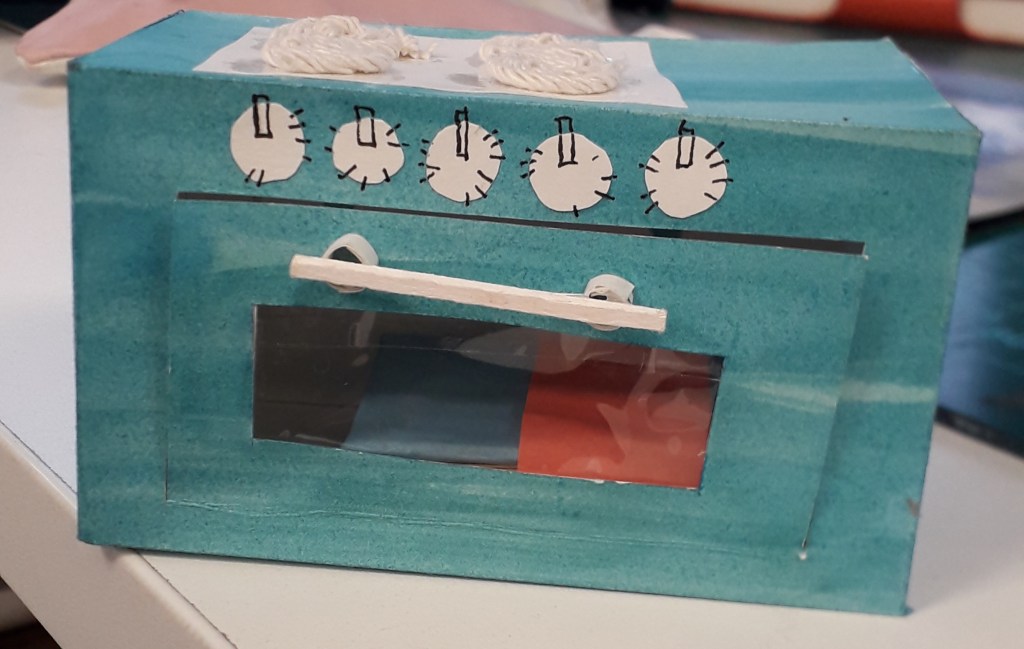
What was successful and why? In this section, I was proud of how the oven doors came out. I especially liked the zigzag texture, clear oven window and little wooden handle. In terms of the book, I’m proud of how textured the inner pages are, and also quite pleased with how straight I ended up getting the pages and mounting boards despite assembling it from so many separate pieces.

What was less successful and why? The final oven’s construction was needlessly laborious. This was a material limitation: all I had to hand was paper or cardboard, no cardstock which would have been an appropriate midpoint. I was also fuelled up on so much inspiration and so little money that I could neither have waited for nor bought the materials I wanted. I worked around it by reinforcing four of the six net panels with another layer of thick paper, meaning it’s quite structurally sound now.

Where will I take this? After Stephen Fowler’s work inspired me in terms of small-scale bookbinding and stamping, all I have left to do is find myself a rubber or two to carve some stamps into! I’d like to populate my little notebook with relevant stamps of ovens or grills. After that, Christmas is so close I doubt I’ll be continuing further.

I hope once completely finished with the project to create one more blog post of critical reflection on the project as a whole.

Gained in Translation Reflective

Gained in Translation Reflective

Gained in Translation was about how we interpreted description in drawing, and then interpreting drawing in a 3D model made of cardboard. The art and personal element came in the gaps of interpretation between words and paper, and 2D drawing and 3D model.

I enjoyed drawing from Said’s description. I was lucky that the object he described seemed to have a face, as I have a habit of anthropomorphising – and then becoming attached to – things.

I know Willie is a rude name, but I can’t get it out of my head for the little guy.

Below is what I found out the description was actually of, right at the end of the day.

A chipmunk type thing… this item doesn’t have a formal use. I’m told it was a ceramic student’s old work.

I translated this into a 3D model as best I could.

I thought that by chance, this cardboard model has a lot of personality. Far more so than the original (rather creepy) drawing.

Methods:

For the base, I used two circular pieces of durable cardboard and cut one length of flexible (one-side-corrugated) cardboard for the middle piece. I would secure an area a few inches wide with gummed tape, then work through the area with more individual pieces of tape until it was completely secure and uniform. I did this right the way around both sides.

For the (relatively) spherical body, I created a kind of guideline using two hoops of flexible cardboard arranged like two interlocking bangles. I then worked around it with long eye-shaped pieces, similar to how they stick maps on globes.

What could have been improved? I feel like this session went very well overall, actually. A little longer to work might have been nice – but I understand that the time constraints were kind of part of the project. I managed to finish him. Similarly, other materials like paper or tape might have been useful, but the fact that we were only allowed gummed tape was part of the project too.

Where can I take this? Well, funny I should ask that – I’ve already taken it a little further with a couple of character design exercises. I might make a separate blog about it when I finish it, but what I’m doing with the model is using it as a starting point to design a sweet little character. I feel like I’d be doing him dirty if I just forgot about him. He wants to come to life!

For that, I’ve drawn the model a couple of times quickly to get a feel of it before printing off a couple of pictures for inspiration. I’ve also painted some ink silhouettes that I’ll line a few iterations of his character onto.

I might well be tempted to using cardboard to generate ideas again. Considering that I have some issues with varying body shapes in my art, something that forces me to make shapes like this might help kick start that process.