Workshop: Monoprinting

Workshop: Monoprinting

Last Wednesday, I signed up to a monoprinting workshop with Caroline.

We were taught how to use the huge press to create prints and how to use newsprint to create interesting stencils to ink up. After that, we were pretty much left to experiment!

The key to using the press safely and correctly is to ensure the print has newsprint paper on both sides, to protect the blankets and press from any ink as it rolls through. Wet paper prints best for the first run through (but after that, you can’t wet it again as the ink runs!). Place the blankets over the print flat, and turn the wheel to run your print through the roller once forwards and back.
This is an example of a stencil I used in my printing. I experimented with crumpled paper, because ink would roll heavily onto some areas and miss others to create an interesting texture. I liked the idea of juxtaposing sharp cut squares against the organic crumpled folds.
This wasn’t put through the press, but here’s an example of using a stencil (a question mark) and inking around it.
I monoprinted with some leaves, but in my experimenting I found I actually liked the pink and yellow leaves more than the prints they produced! I’ve since put them through the photocopier to preserve how they look forever.
These last two images were things I thought were just too pretty to lose.

How has this research helped me? The main advantage I’ve gained from taking this workshop is that now I can book in with Caroline and use the resources freely when I need them. Monoprinting is useful for creating basic textures and interesting, unique backgrounds. If I monoprint onto newsprint, I could collage with it and know that what I was creating was wonderfully unique.
My Christmas Card Prints!

My Christmas Card Prints!

I always get so excited about Christmas. For the past couple of years, I’ve sold my art at Christmas Fayres – and my bestsellers have always been cards with christmassy lino cut prints on them.

I’m tired this year and couldn’t take that opportunity even if it presented itself, but I’ve lino cut my own new Xmas print for my friends and family to receive.

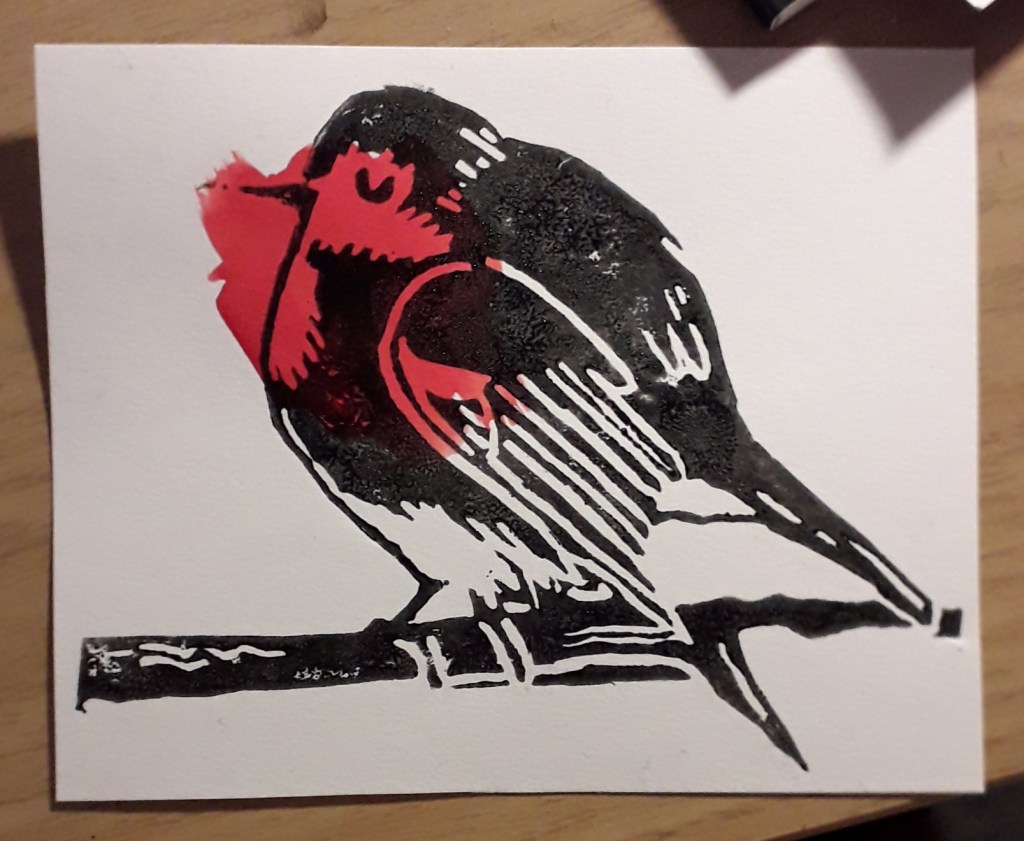
Here he is!

After a little experimenting (you can see below), I decided that watercolouring a patch of red underneath each bird to represent the red breast was my favourite look. It makes every card especially unique, and the red I have from my Artway kit is so vibrant!

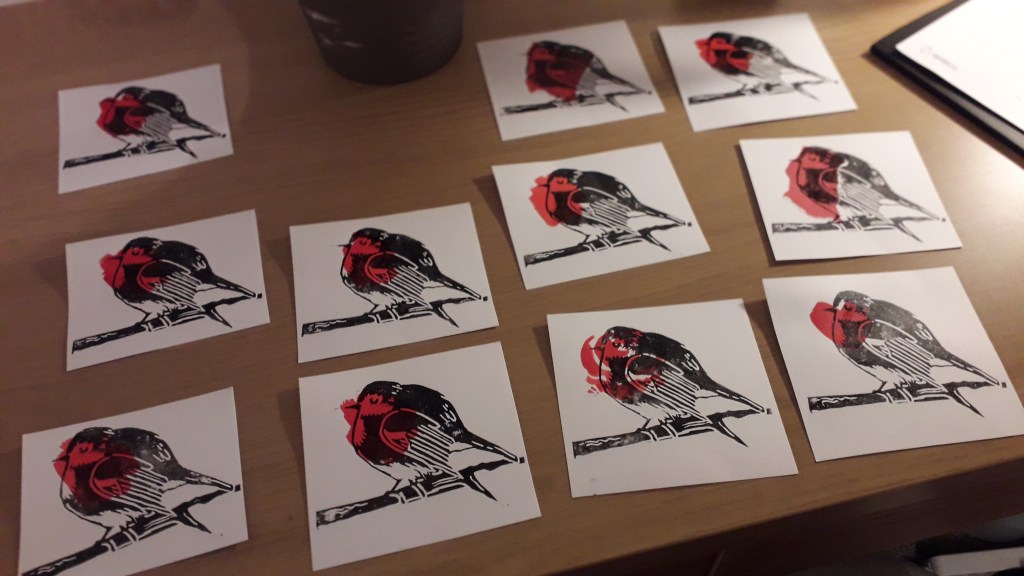
Here you can see examples of the normal watercolouir patch, torn red paper to represent the breast, a rose painted underneath and a heart underneath. I thought that the rose and heart were a little too busy and complex, and the paper just didn’t do it for me.
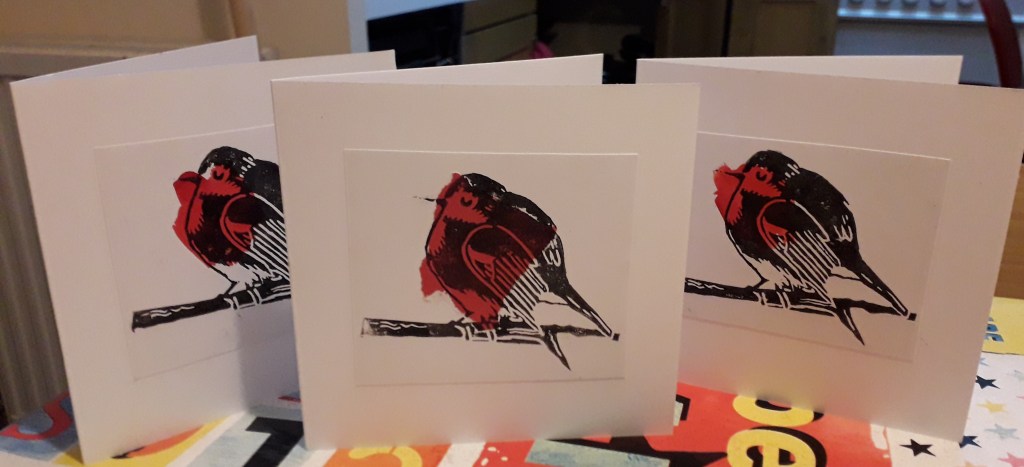
Here are three examples of the finished cards.

I thought I’d include this because it’s an example of my personal artwork! I did this on a weekend home, and in all I made 26 cards.

I’ve even bought some little peppermint candy canes to slip into the cards of some of my closest friends!